How to create a livery - Managing layers
To make a livery, you have to create two new textures: the fuselage and the airfoils.
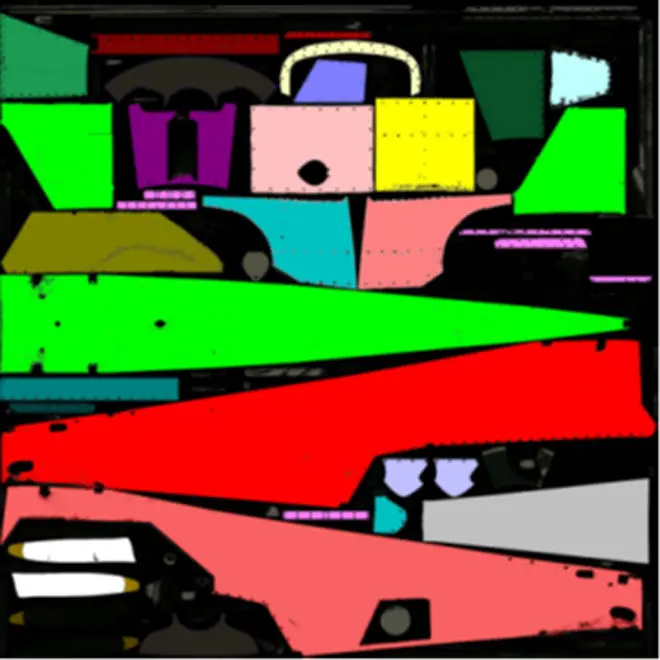
After having found in other liveries textures allowing the recognition of shapes and having colored them (see tutorial "How to create a livery"), we will work on layers:
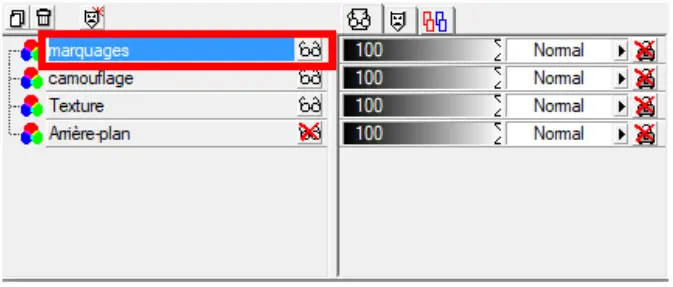
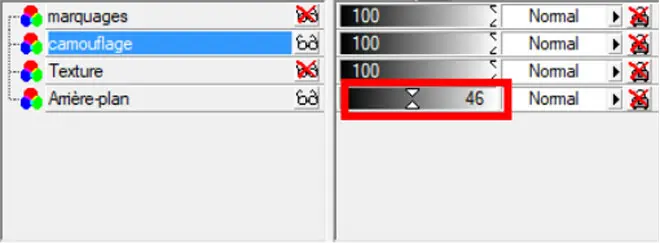
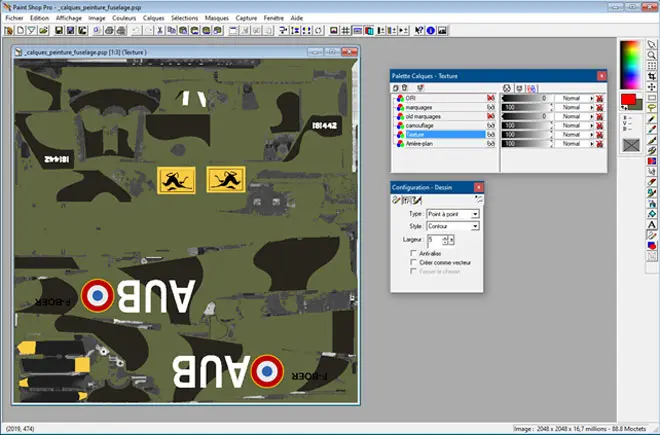
The layers must of course be put in the right order so that their superposition gives the desired texture (image: PsP6 on the left, Gimp2 on the right).
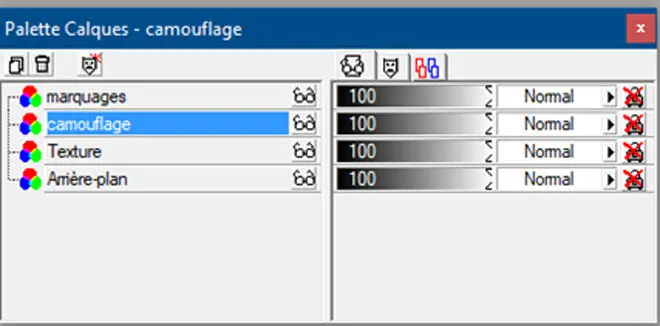
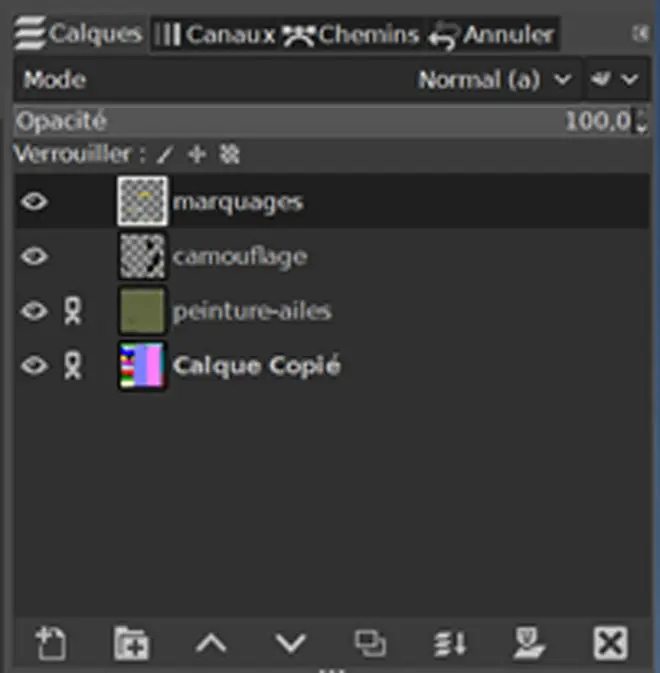
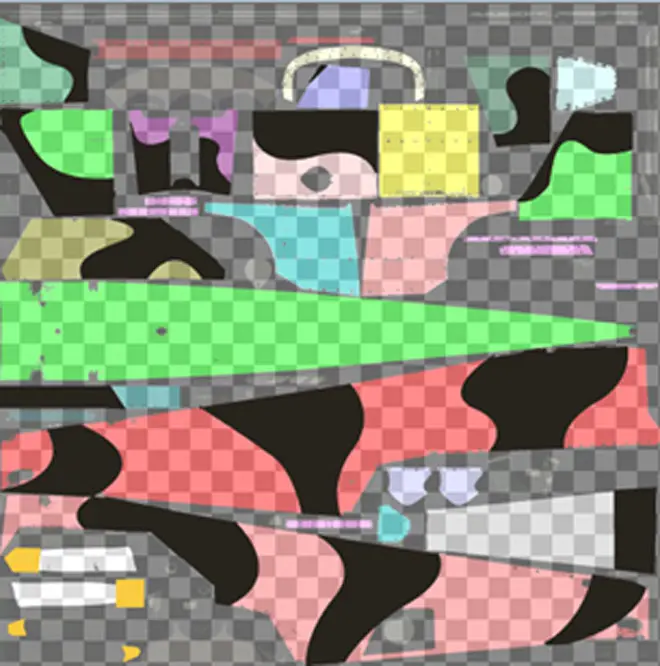
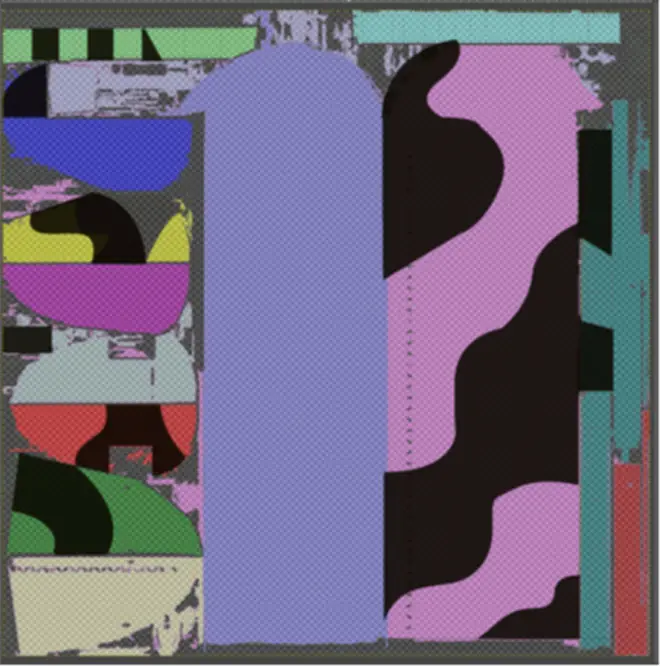
In the background, the colored layer to have the shapes and their location, this layer will not appear in the final texture.
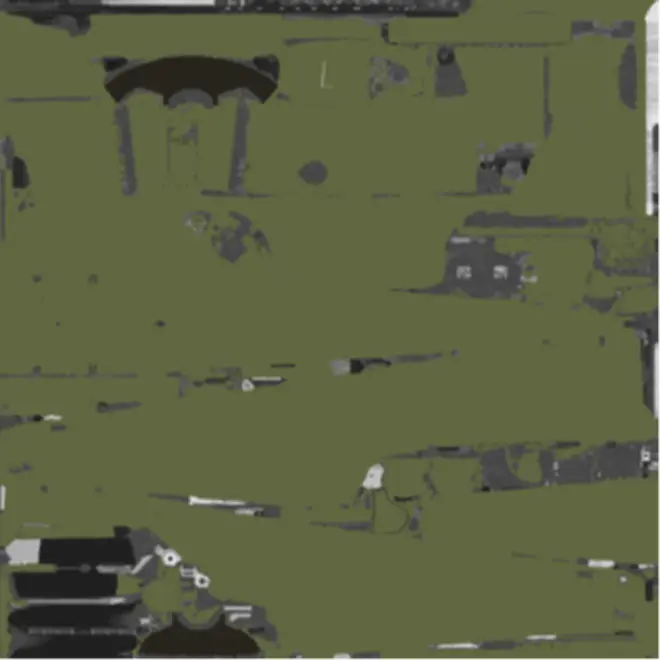
Then, layer of the base color of the plane on which the camouflage color and the markings will be superimposed.
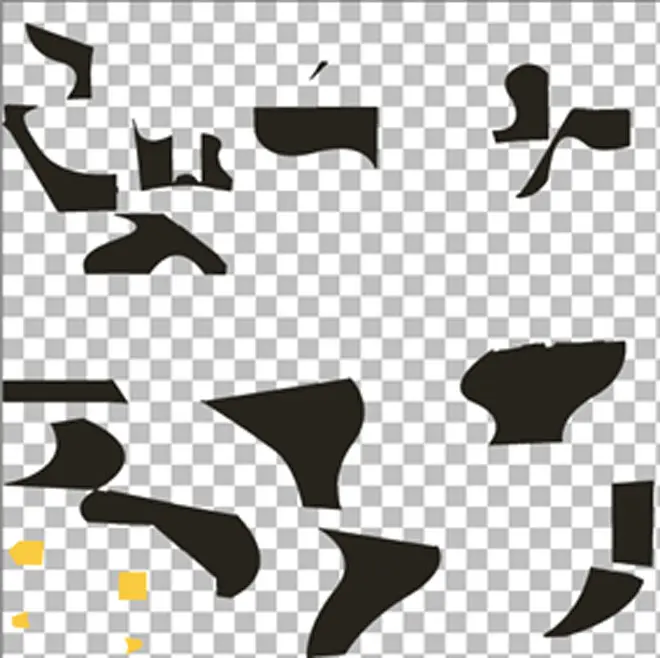
Then, the layer of the areas of the darker tone of the camouflage (on transparent background).
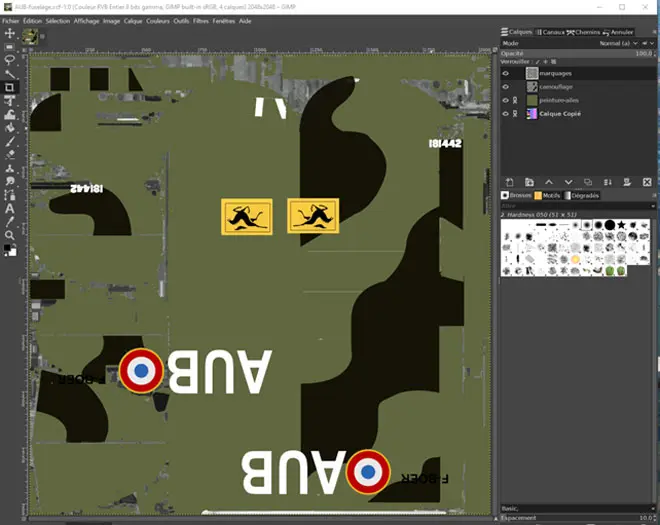
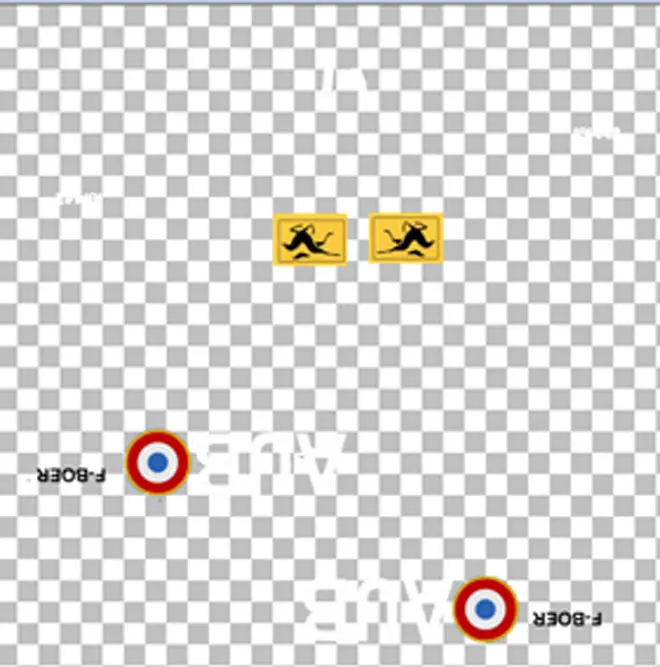
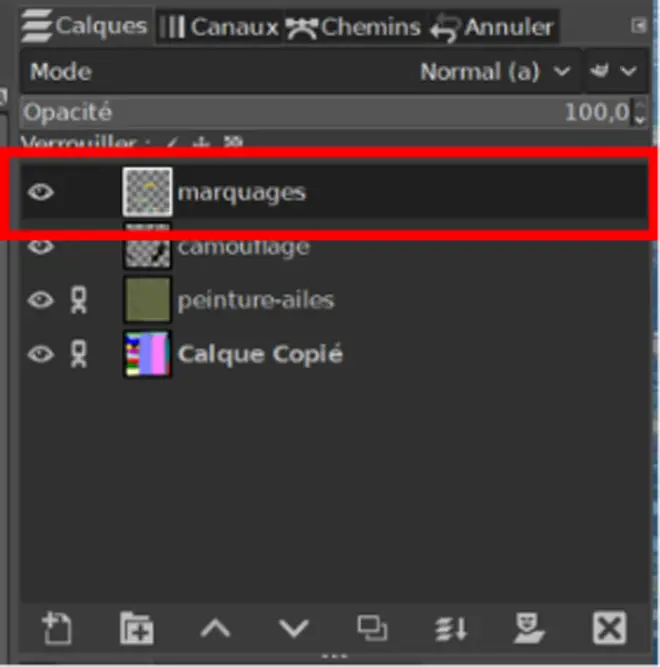
Finally, for the aircraft that interests us (the Piper AUB from ACRIV), the markings layer (transparent background).
When working on a multi-layer, be careful to be on the "active" layer which is visualized by a line (here blue) in the layers dialog box.
If we are working on an intermediate level layer, so that it is on the screen, it is necessary to hide those which are above and possibly some below to see the layer which contains the shapes.
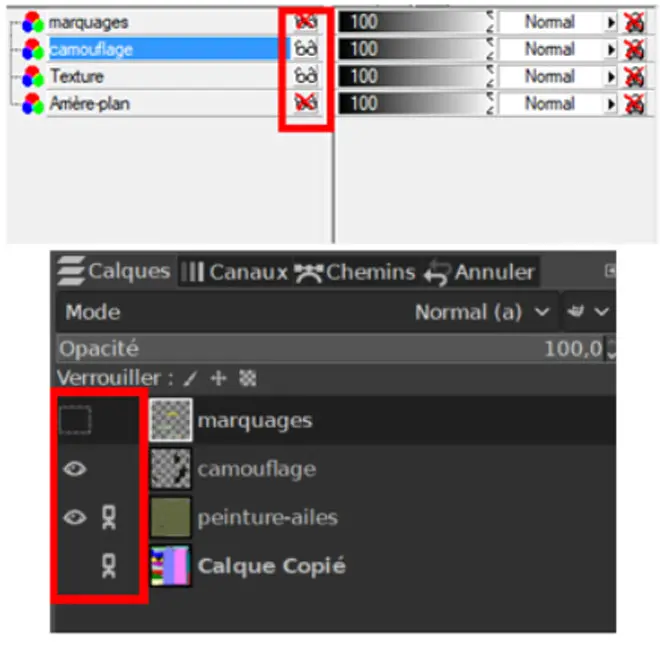
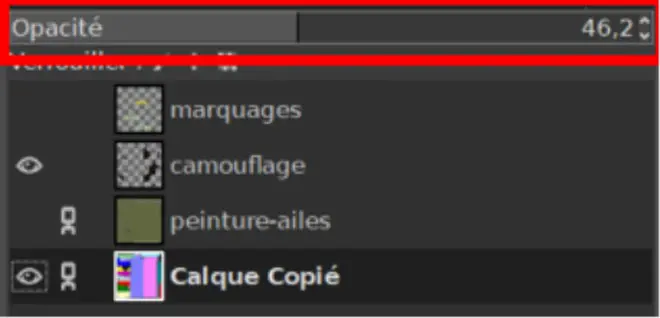
In order to better visualize what is put on the active layer, we can make the layer below more transparent.
As we advance in its texture, we can check it in the simulator.
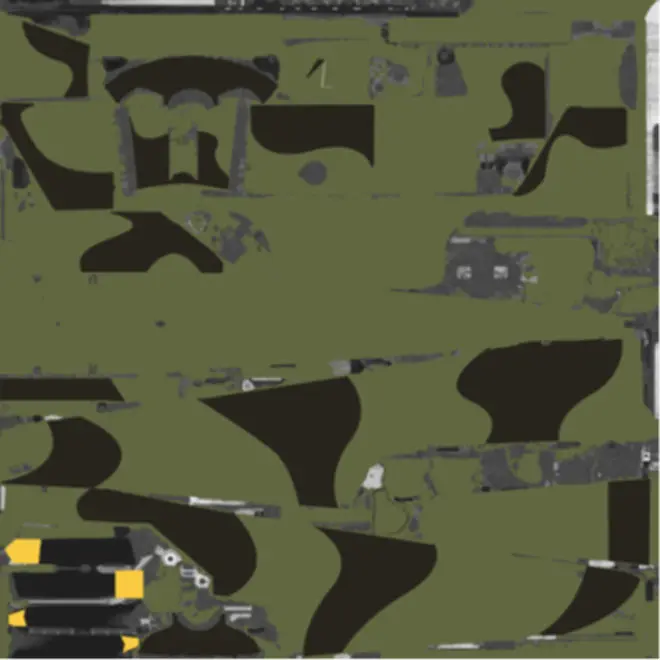
For that, it is necessary to merge the useful layers, here the layers "Texture", "camouflage" and "markings" which gives the following jpg file:
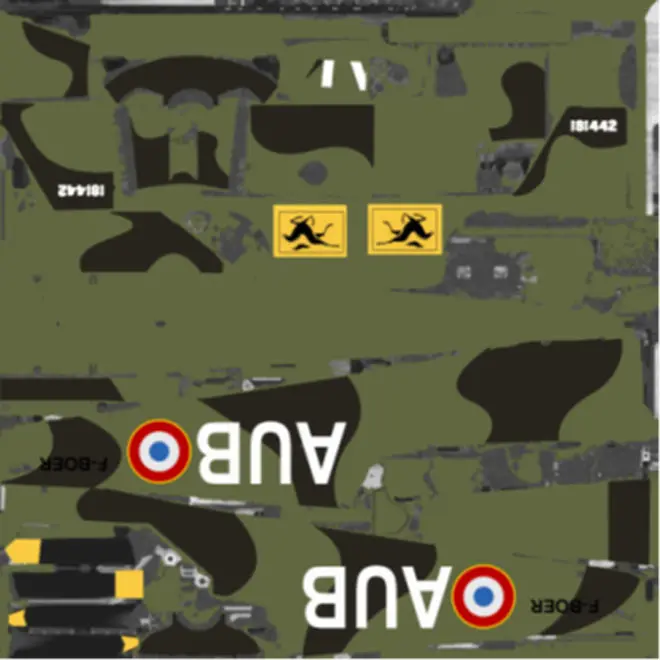
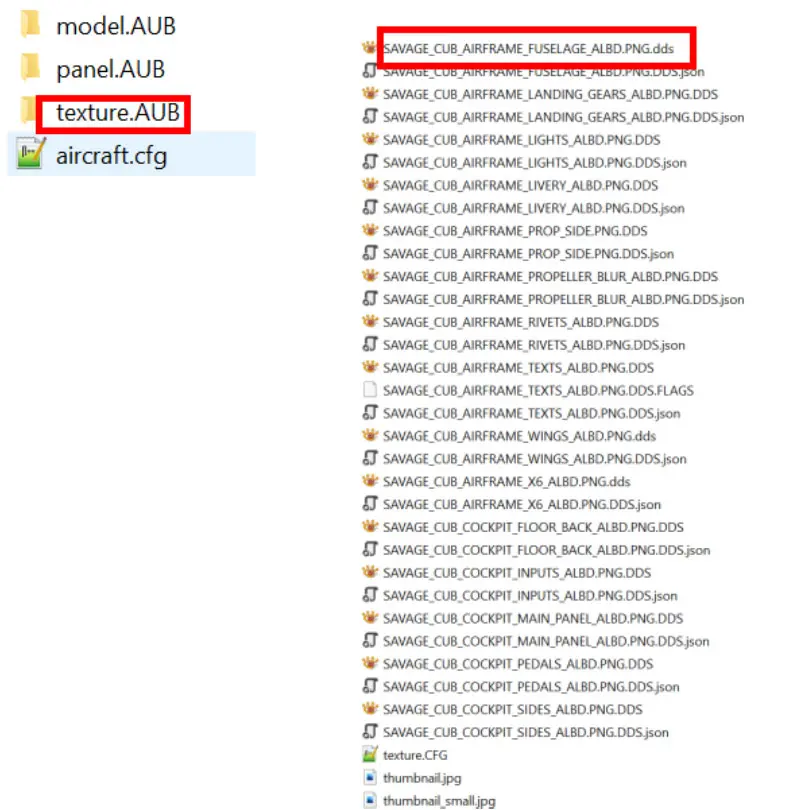
In FS2020, the textures are in .DDS format, so you have to convert the JPG to DDS and give it the name of the final texture, here: SAVAGE_CUB_AIRFRAME_FUSELAGE_ALBD.PNG.DDS.
It is then necessary to place this DDS file in the textures folder of the livery previously prepared and put in the "Community" folder.
Even if the simulator is already launched, you can view the changes in its texturing in the "my hangar" window after having re-selected your aircraft and the current livery in the aircraft choice page.
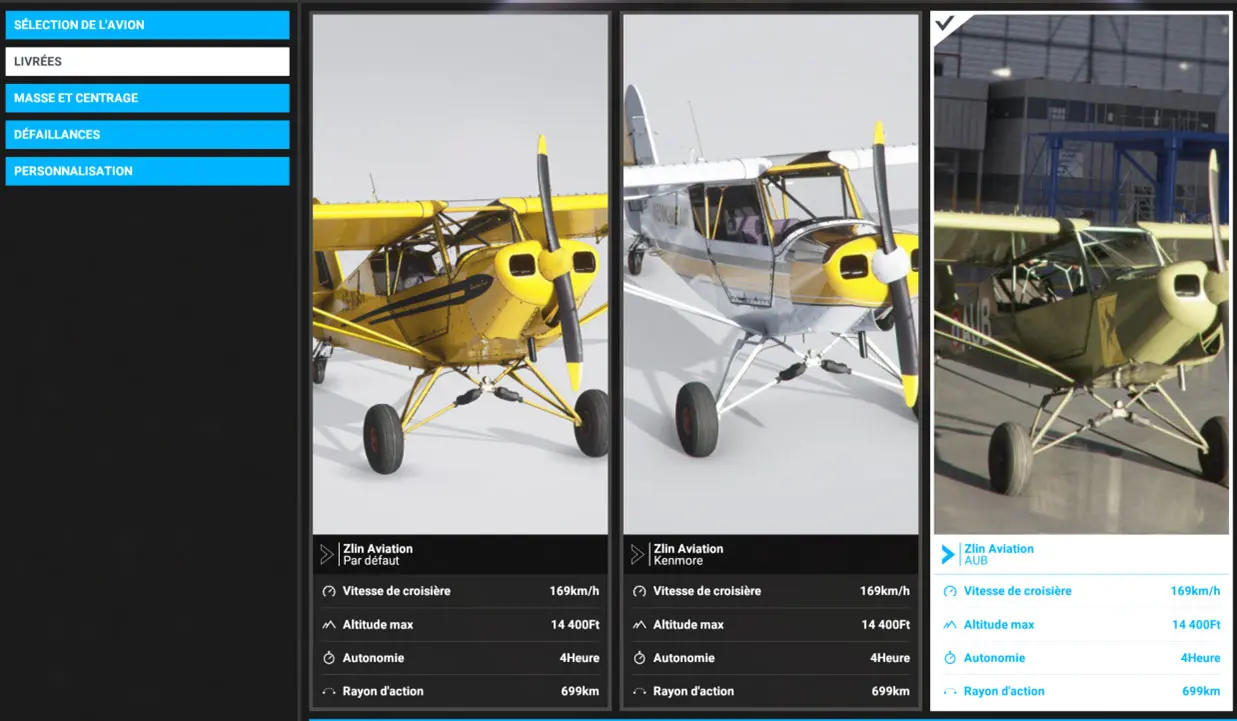

You can go back and forth as your work progresses without having to wait for the simulator to reload.
Annex
Paint Shop Pro 6 (PsP6) workspace
Gimp 2 workspace (v 2.10)