How to create a livery
Here is how I was able to repaint an airplane without any other software than a good old "Paint Shop Pro" to manipulate the textures converted into JPG and XNviex to convert textures from JPG to DDS or vice versa (DDS is the FS2020 texture format). I don't know Blender and it seems quite difficult for a "novice". Gimp2 is also quite suitable for this type of work and know how to process DDS files.
To repaint the livery of an airplane (external paint in my example), you have to find an already textured airplane: either the original, or, better, another similar livery with sharper "DDS" texture files (in terms of shapes).
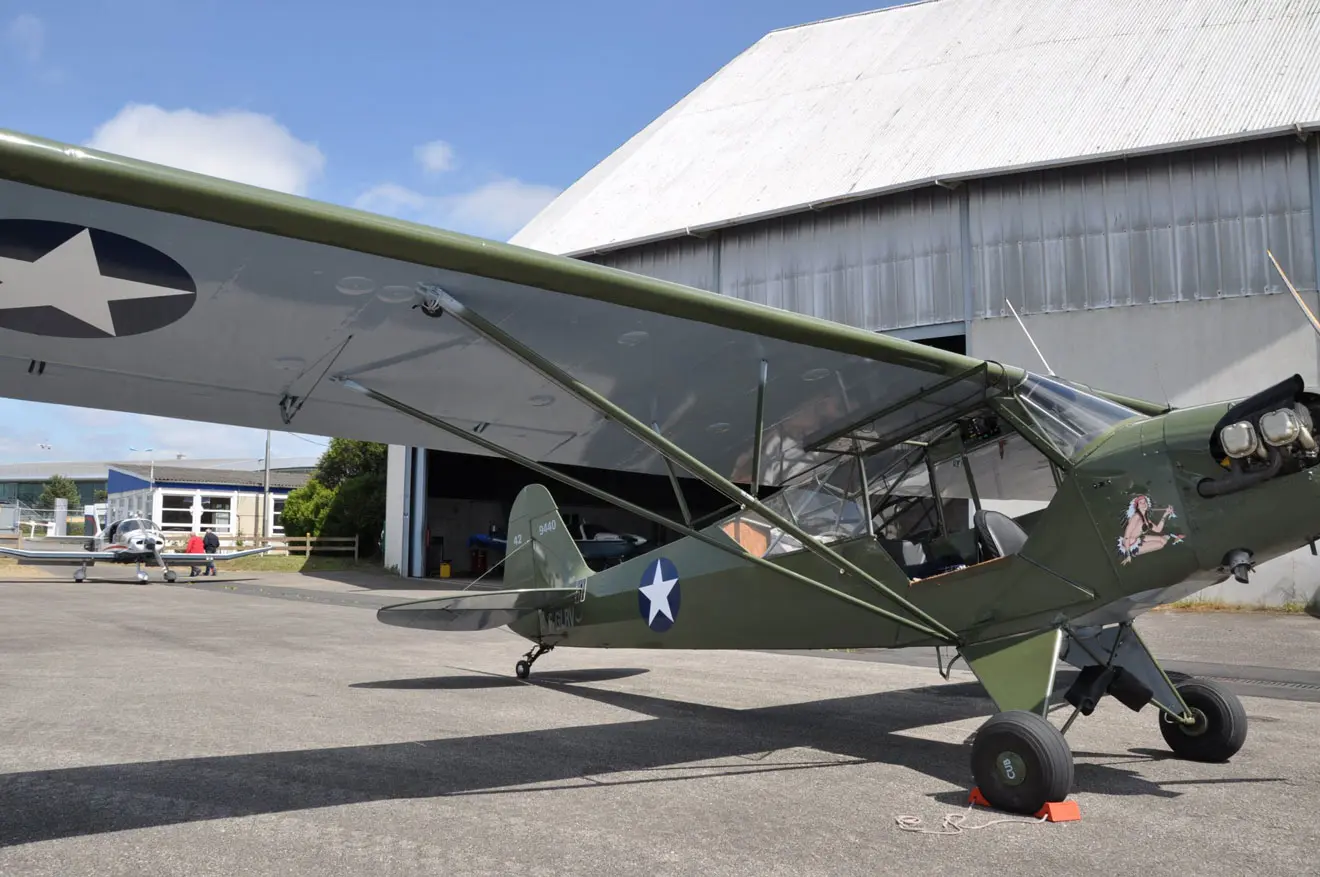
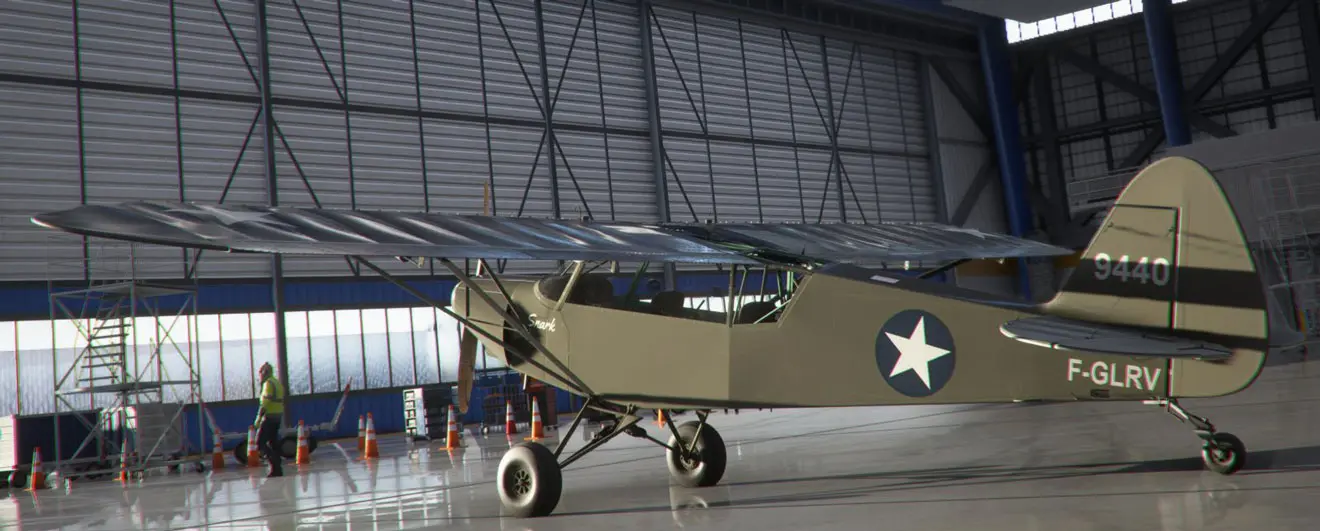
My goal was to repaint the Zlin Savage Cub in the original military colors of a Piper Cub J3 that belonged to a member of my flying club. It's not quite the same plane, but they are very similar.
Below is the real Piper Cub J3 registered F-GLRV when it was based in Rennes.
So I looked for similar liveries at least for the US military colors.
I found two of which one had textures with more precise object shapes (a bit). This is the one that I used as a template to color the shapes to locate them on the plane,
the other had the colors closest to the real plane and it was on it that I applied my modifications.
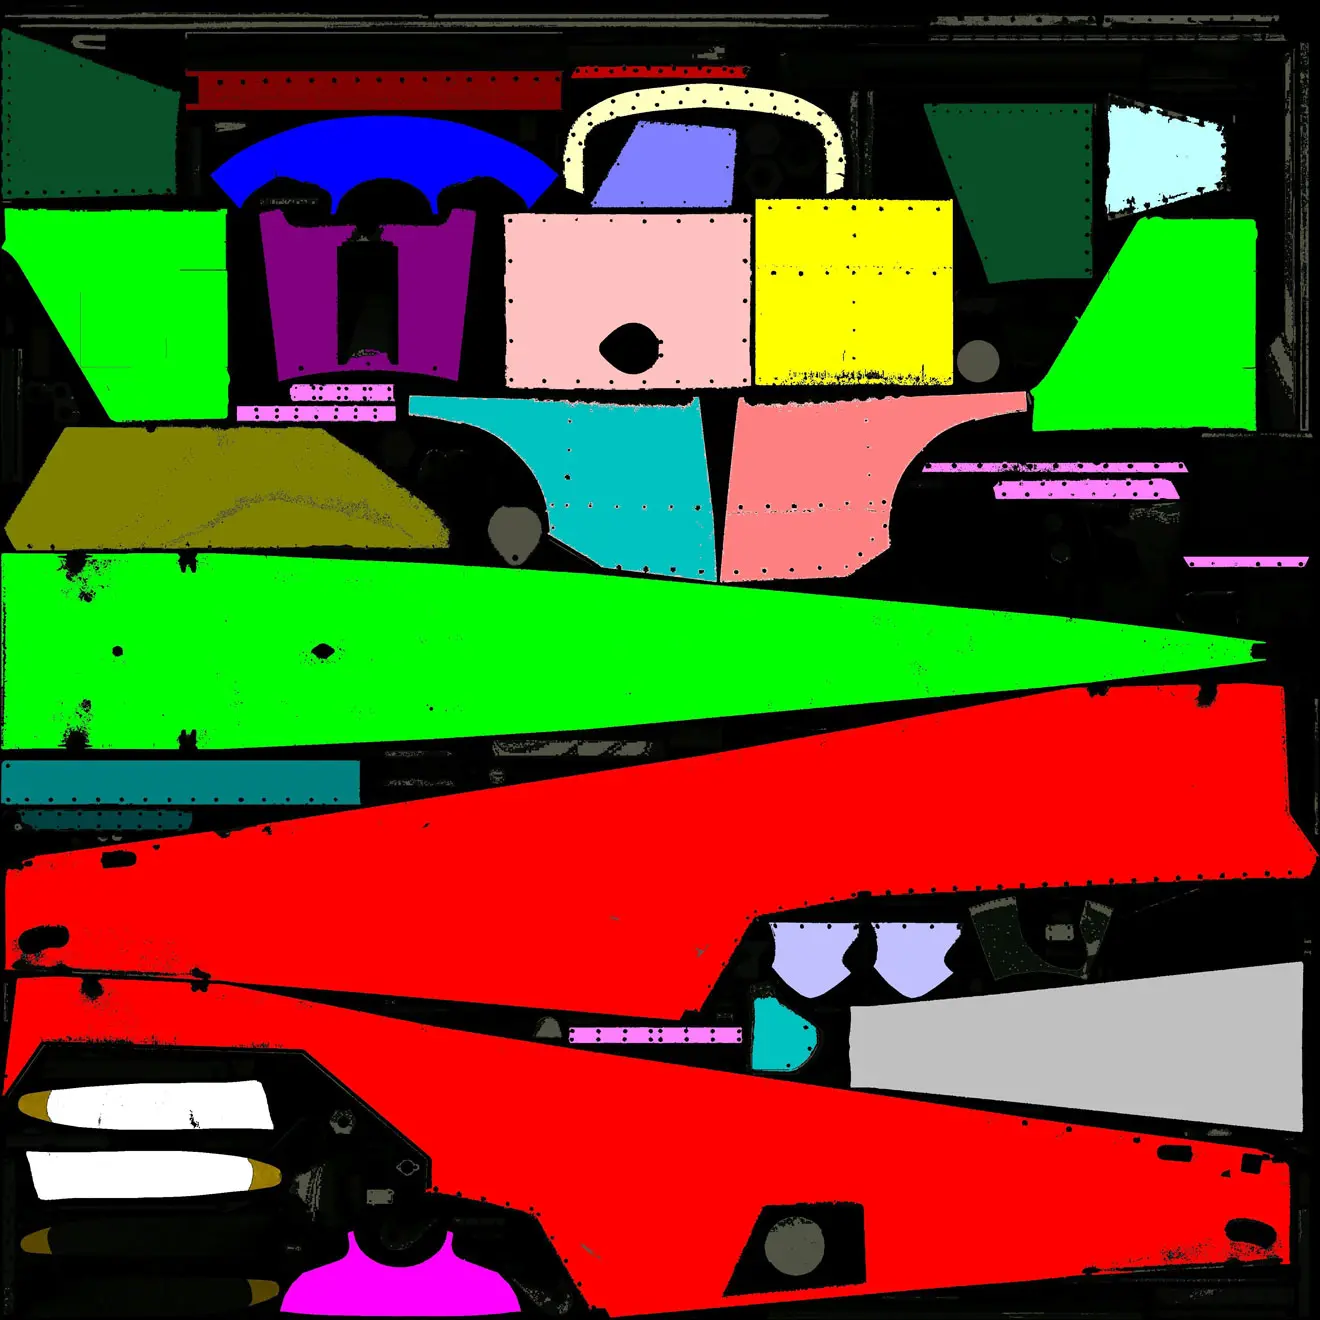
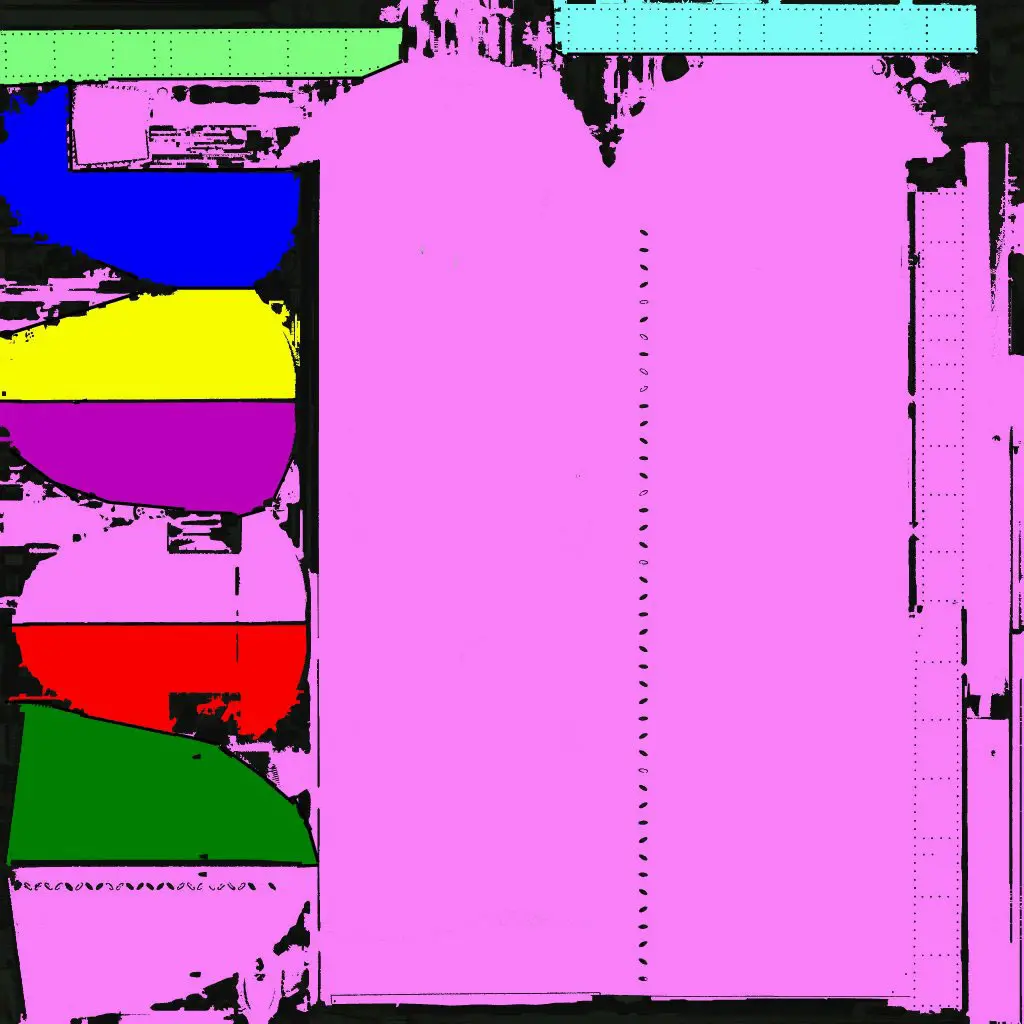
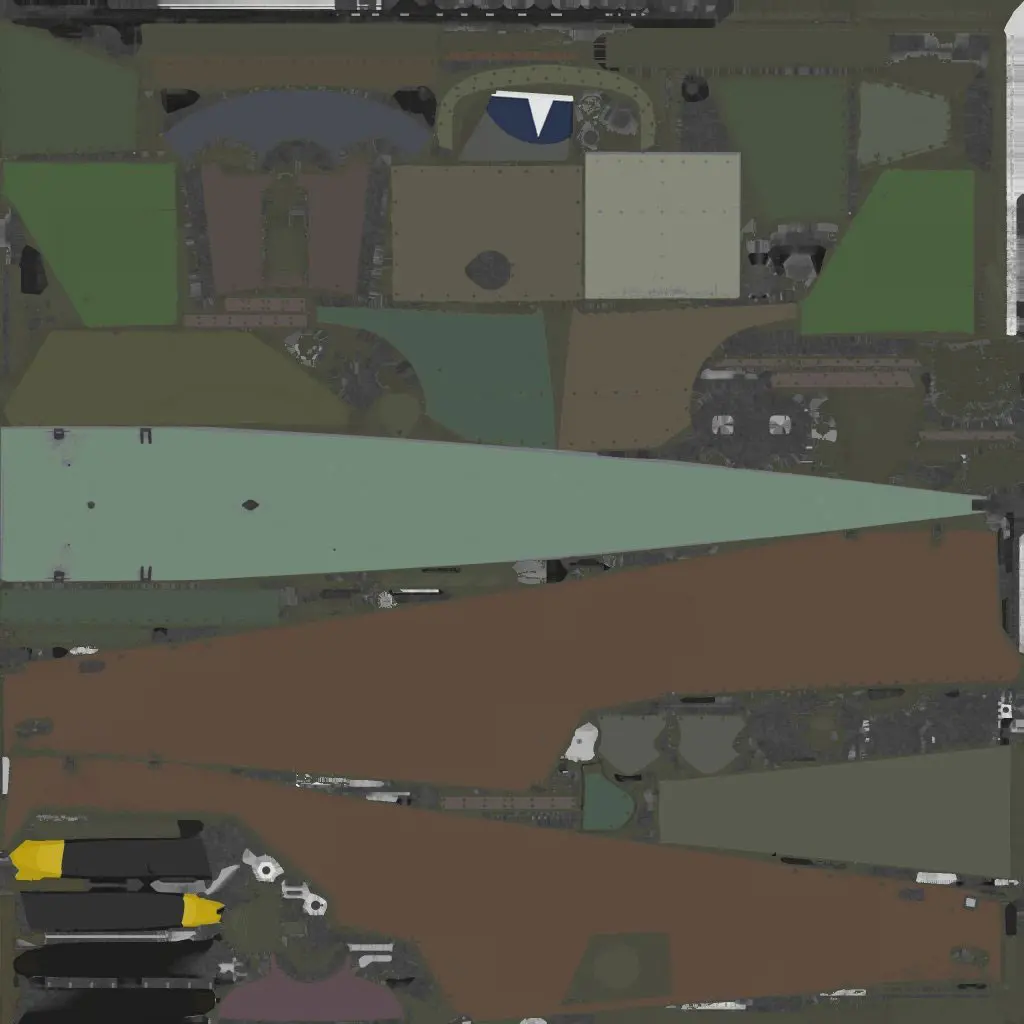
Working coloring: the goal is to have as many different colors as possible to then identify their position on the plane.
-
For the livery of this plane, I had 2 textures to modify:
- SAVAGE_CUB_AIRFRAME_FUSELAGE_ALBD.PNG.DDS
- SAVAGE_CUB_AIRFRAME_WINGS_ALBD.PNG.DDS
Not knowing how to modify the DDS directly, I converted them to JPG with XNview (free) in order to work them with Paint Shop Pro 6.
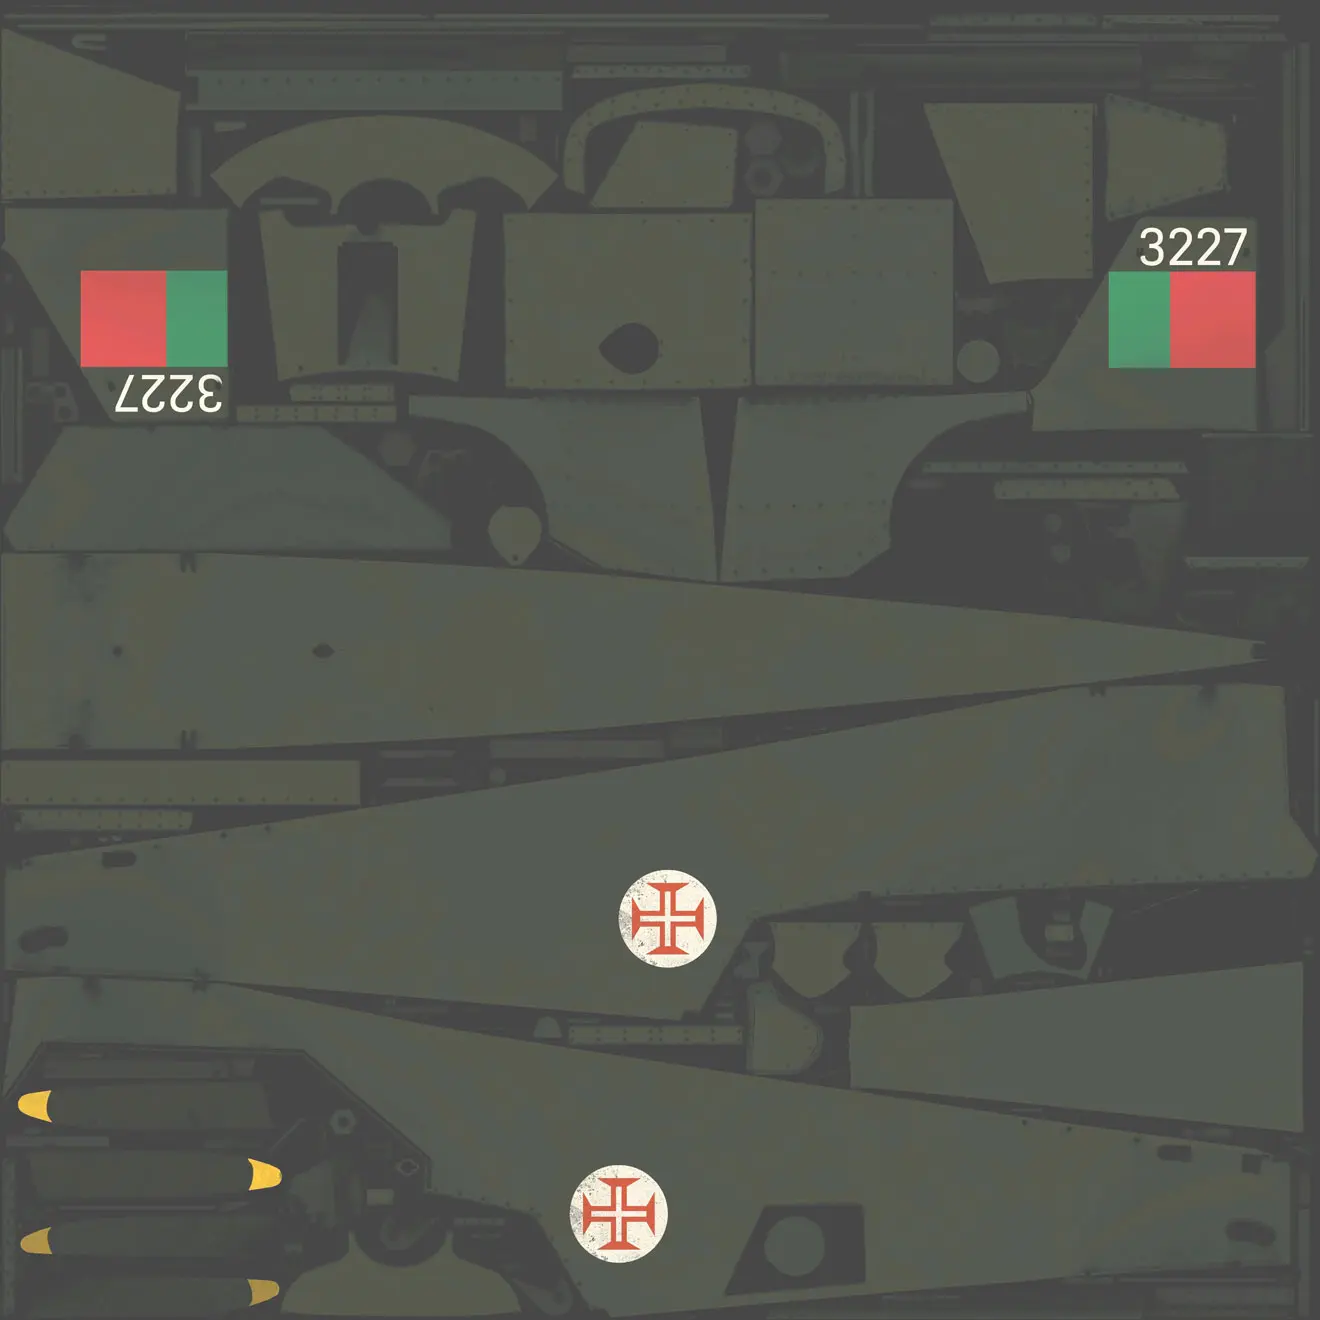
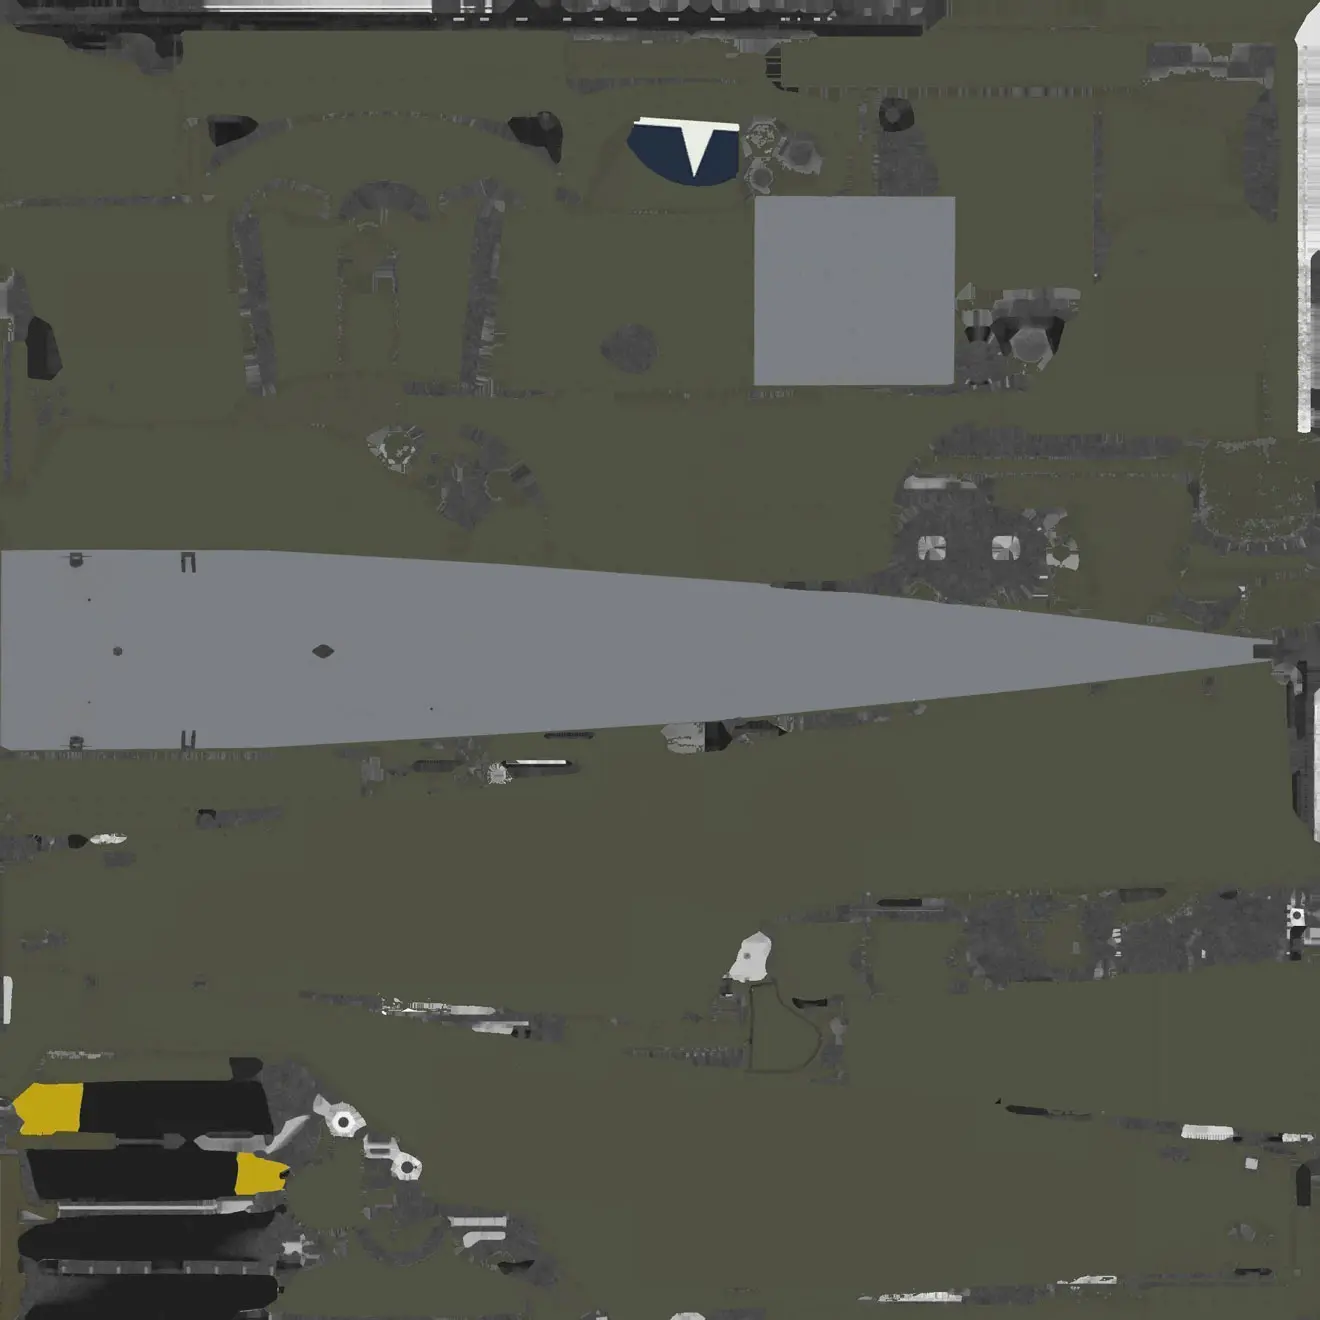
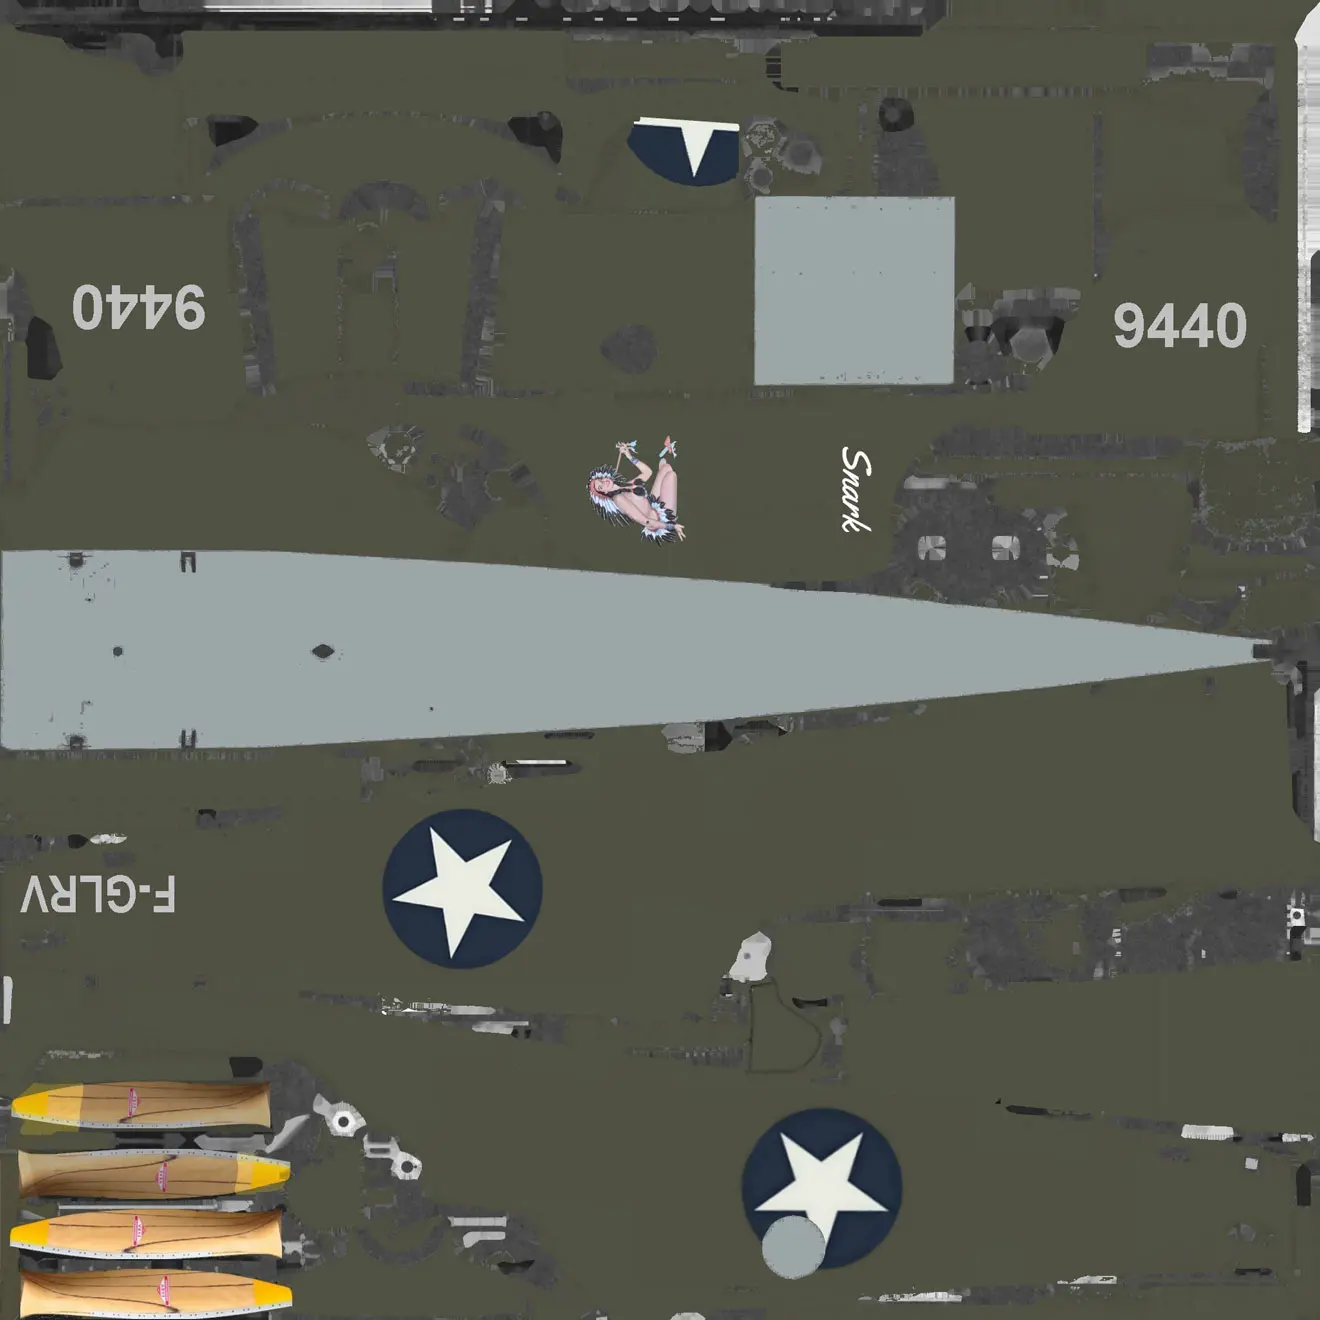
Below is the texture of the fuselage with the original colors of the aircraft showing the best differentiation of shapes (the wings in thumbnail).
Shapes coloring operation after removal of specific markings.
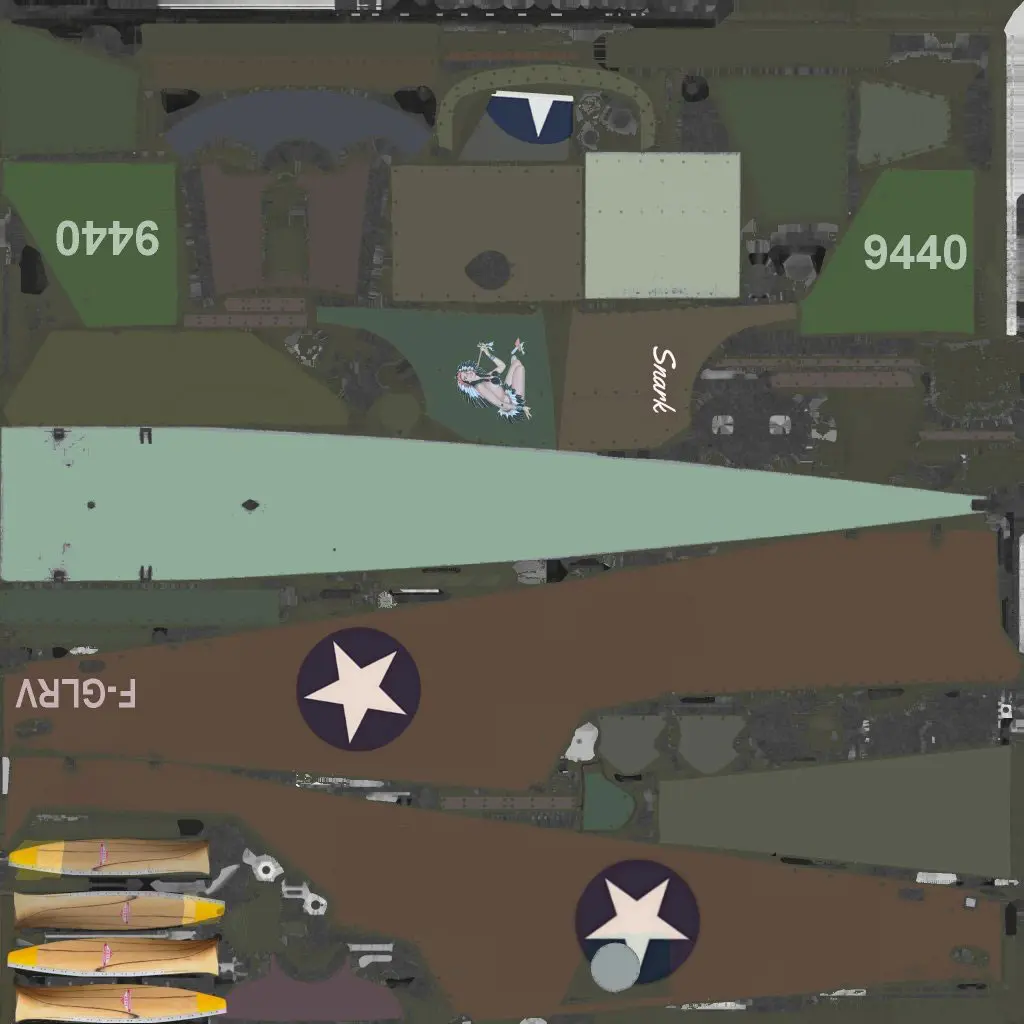
To see the position of these colored shapes on the plane, convert the working JPGs to DDS and copy them to the plane's textures folder in place of the original ones, then place the plane in Community and launch FS2020 and look in the "hangar".
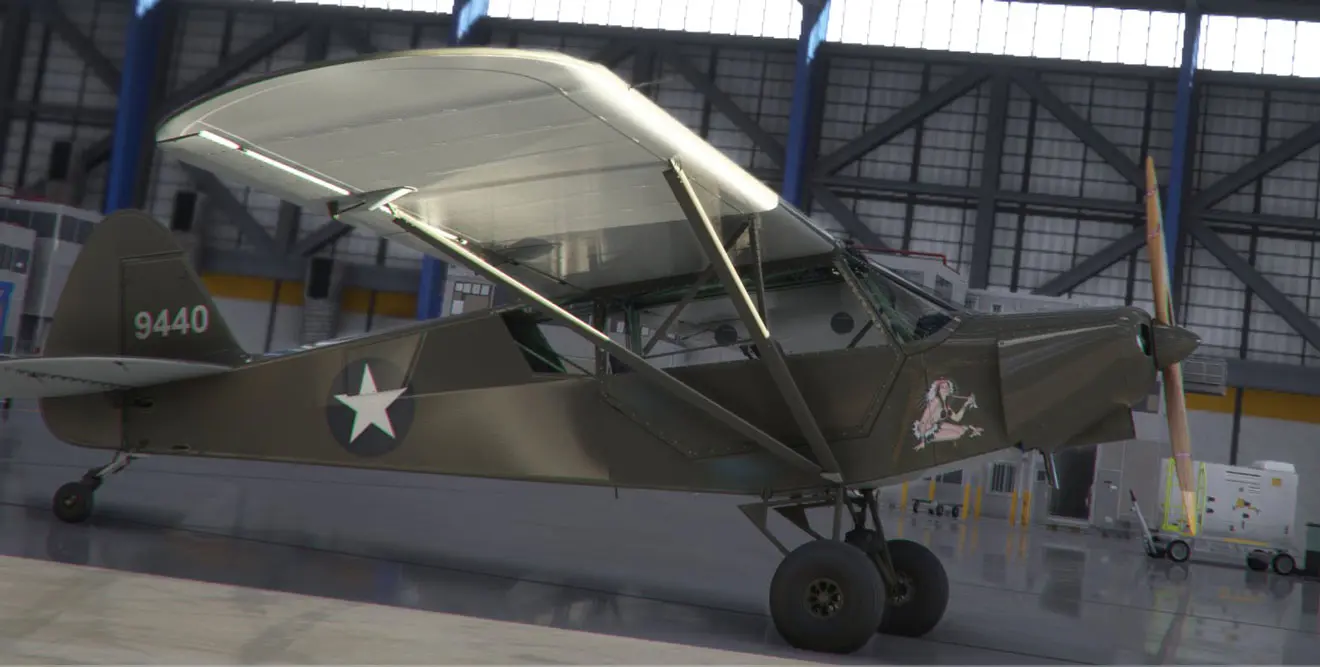
We obtain the following nice plane:
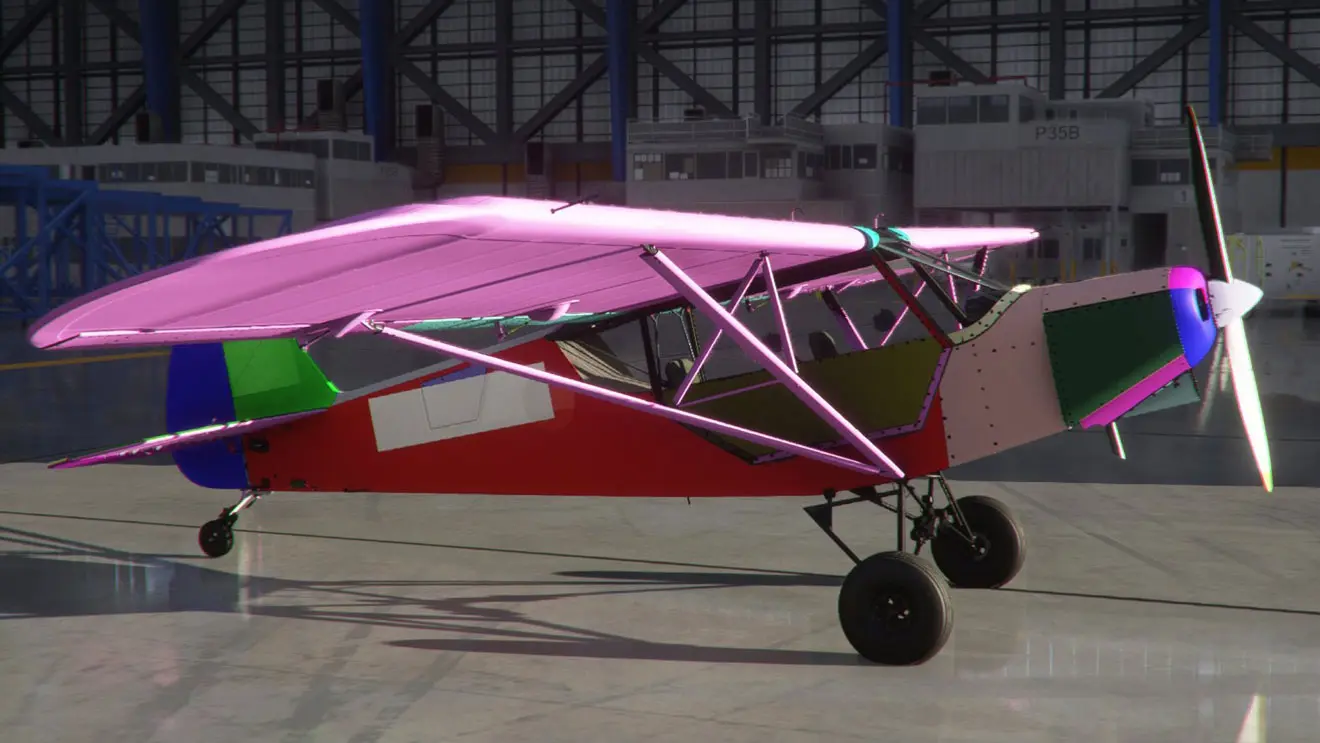
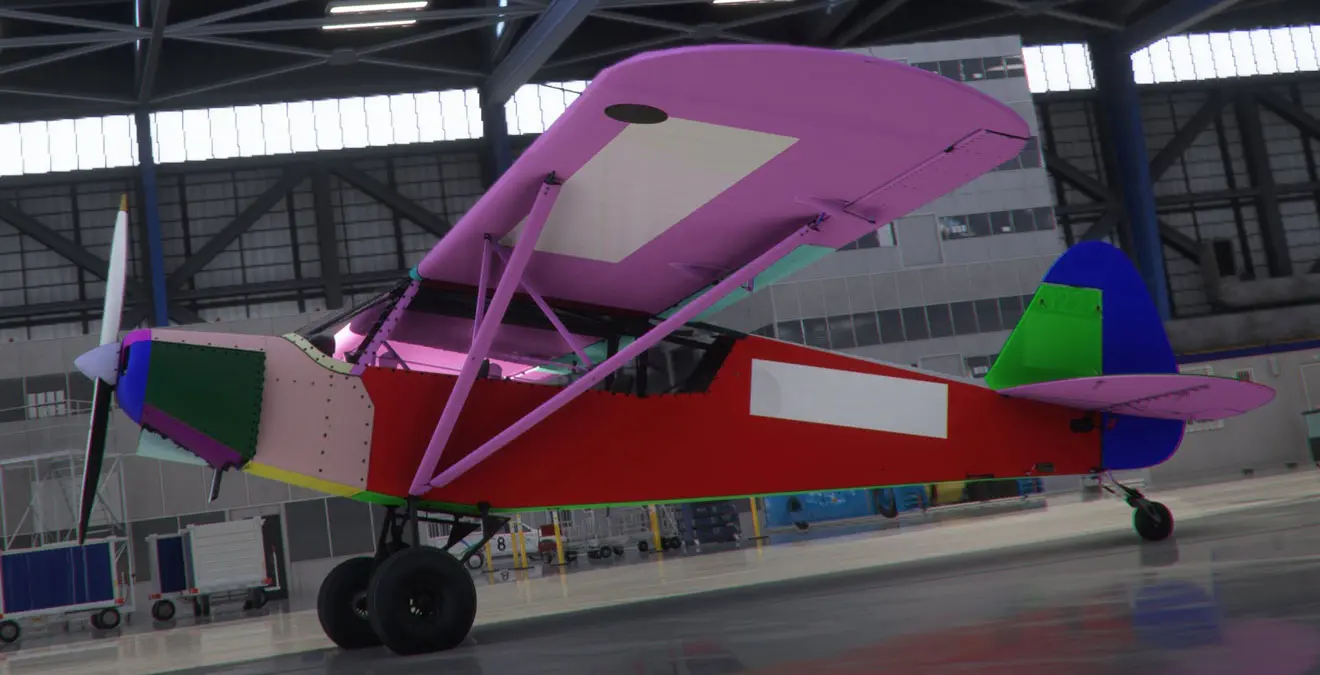
It therefore becomes much easier (everything is relative) then to locate each part and to place its own colors and final markings on the textures. If in doubt about certain pieces, we can go back to the coloring step and add other colors.
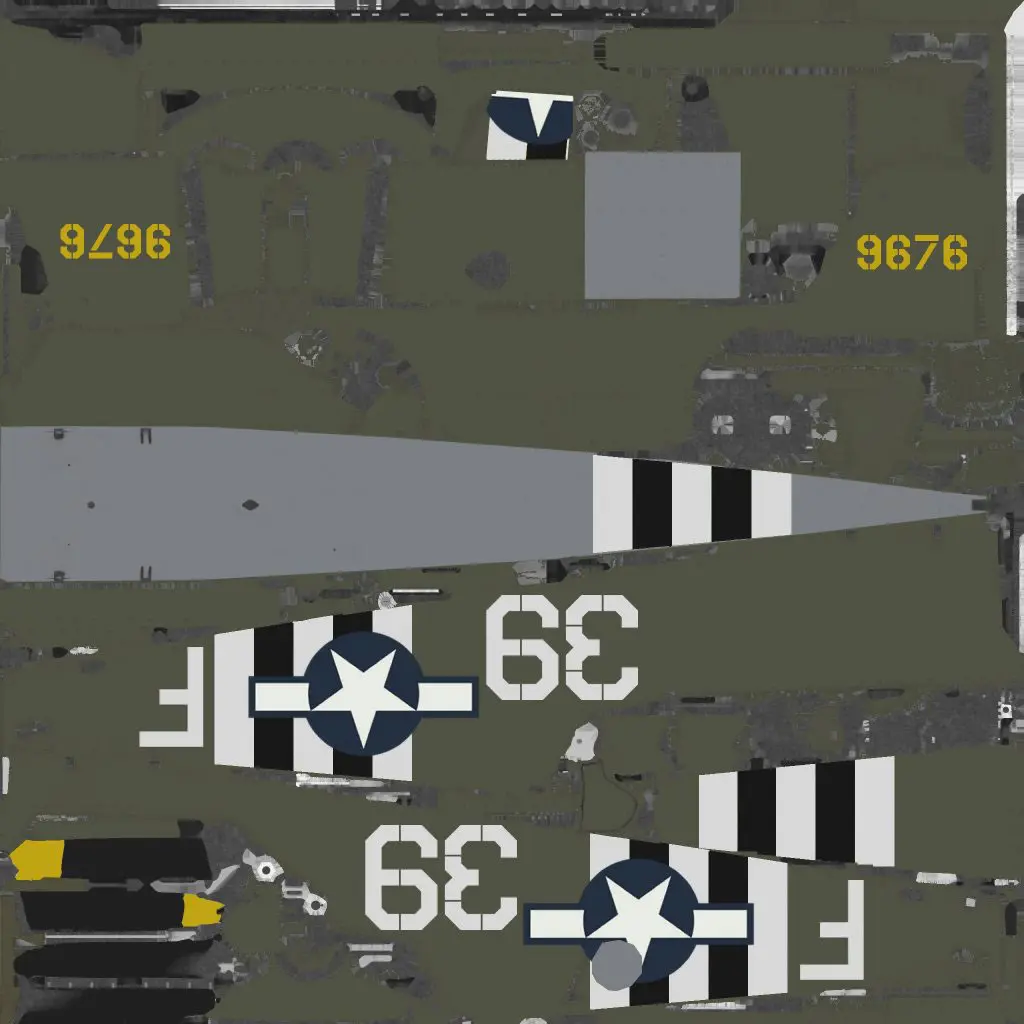
As said at the beginning, in fact the textures of the livery which I used for coloring are not the ones I wanted, the colors not being the closest. So I had to have one more phase in my work.
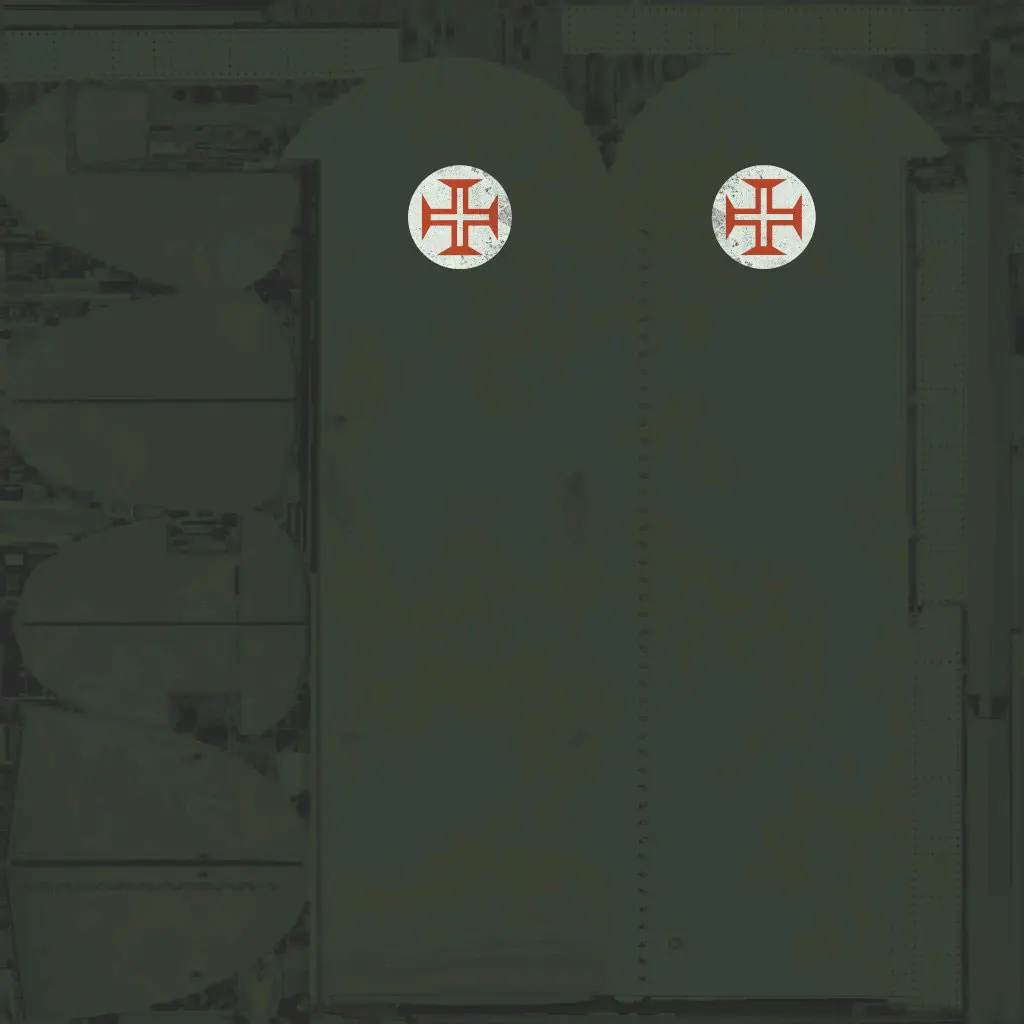
Here is the texture of the fuselage (ditto for the wings) that I wanted to modify, we immediately understand why I had to go through another to locate the shapes: we do not distinguish much.
To achieve this, with Paint Shop Pro (you must also be able to do it with Gimp 2 which is free), you have to use layers: the operations below have to be repeated for both textures.
First phase :
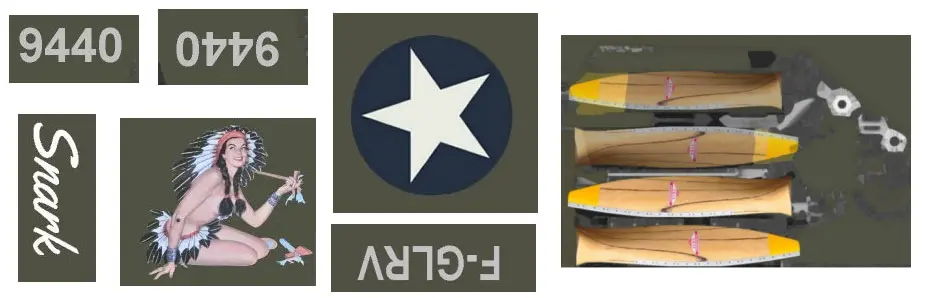
- remove the markings that must not remain
- put the colored layer in the background layer
- above we place the layer that we want to modify and we increase the transparency of the layer above to see the colored shapes
- we recover the markings that we have previously created and we put them in the right dimension and in the right orientation
- we make our modifications directly on the top layer
- it remains to remove the background colored layer and the texture is ready to be converted to DDS by XnView:
In the end, we check in the simulator that everything went well, if not, we correct, of course.
In addition to this tutorial, you can read the tutorial "Managing layers with PsP6 and Gimp 2".